CRM – Contacts
Table of Content
- Introduction to CRM (Customer Relationship Management)
- Finding contacts
- Creating new contacts
- Changing existing contacts
- Contact preview
1. Introduction to CRM (Customer Relationship Management)
The CRM module allows you to manage your contacts and utilize these data for your marketing promotions and sales.
To access your contacts, please select CRM in the upper left corner of the menu bar (1). Click on the Contacts to open it (2).
Picture 1.
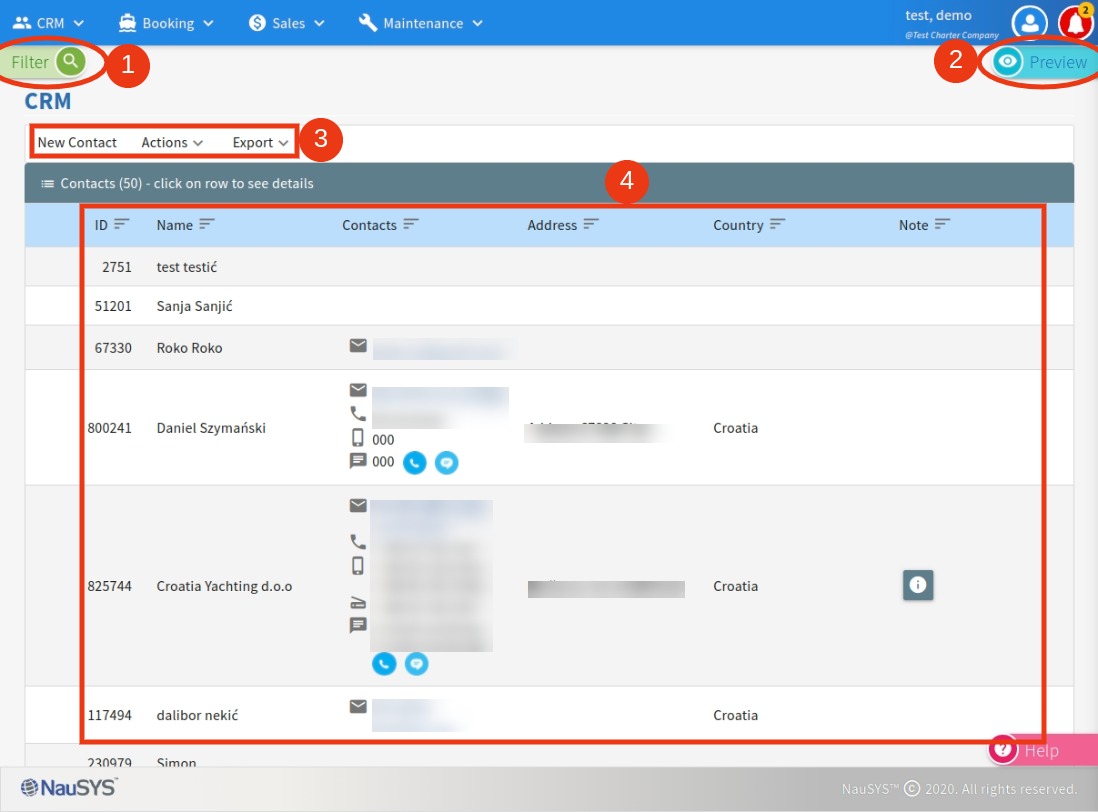
On the Contacts workspace you are introduced to:
(1) Filter – finds contact
(2) Preview – shows contact details
(3) Menu bar – allows actions
(4) Contacts list – displays and sorts contacts
Please see picture 2 for complete overview of the Contacts workspace.
Picture 2.
2. Finding contacts
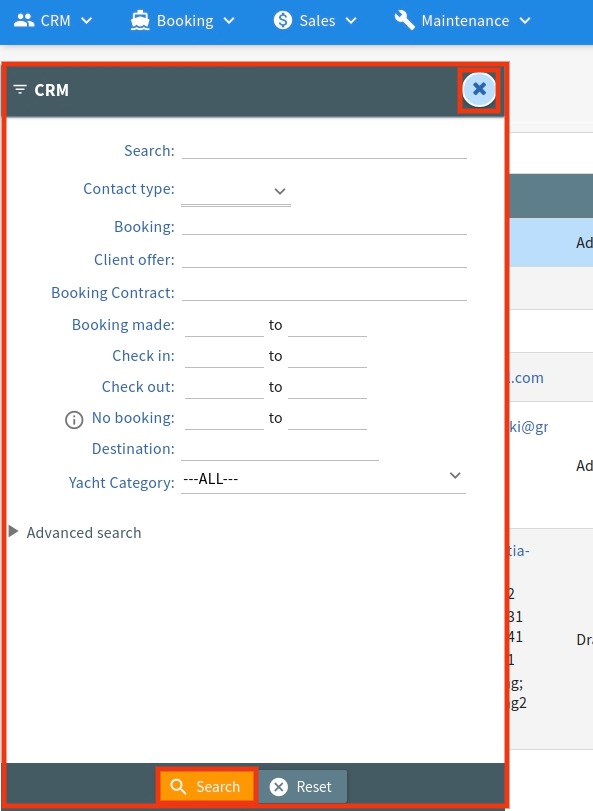
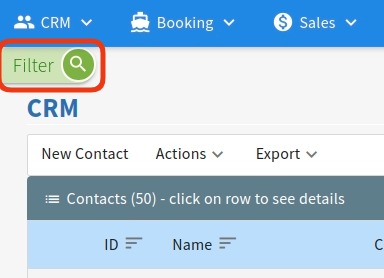
To find a contact, click on Filter and use criteria to narrow down your search.
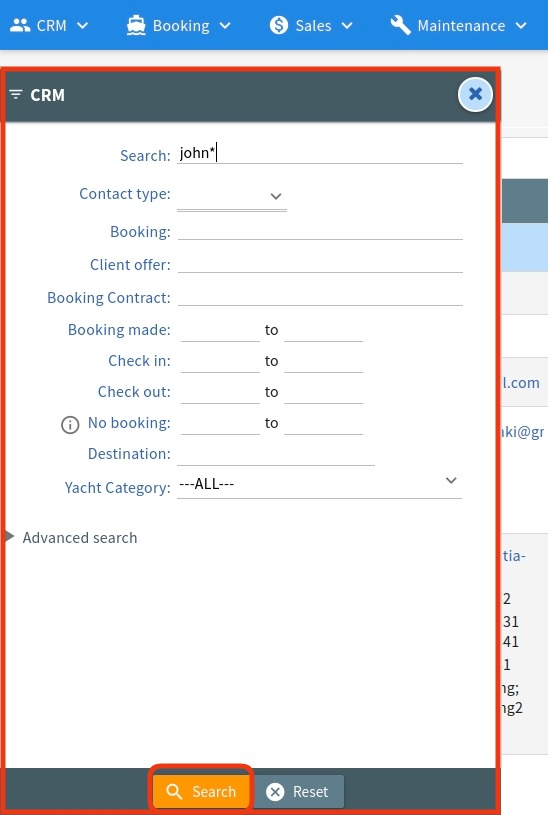
This filter allows you to find existing contacts by following criteria:
- Search – write anything associated with the contact you are looking for (name, address, etc.)
- Contact type – select type
- Booking – write booking ID
- Client offer – write offer number
- Booking contract – write contract label
- Booking made – choose period in which client has made previous bookings
- Check in – choose period in which previous booking started
- Check out – choose period in which previous booking ended
- No booking – use for searching clients who have not yet booked in this period
- Destination – write country name
- Yacht Category – select yacht type
Picture 3.
Once you have selected criteria, simply click on the Search button.
If you do not need to use the “Filter”, you can remove it by clicking on the “x” button.
3. Creating new contacts
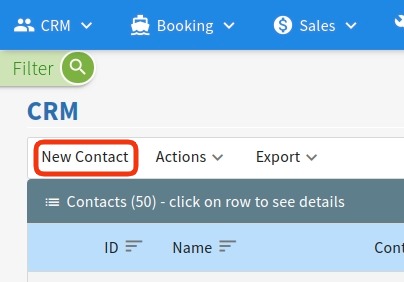
To create new contact, please click on the New contact button of the Contacts workspace.
Picture 4.
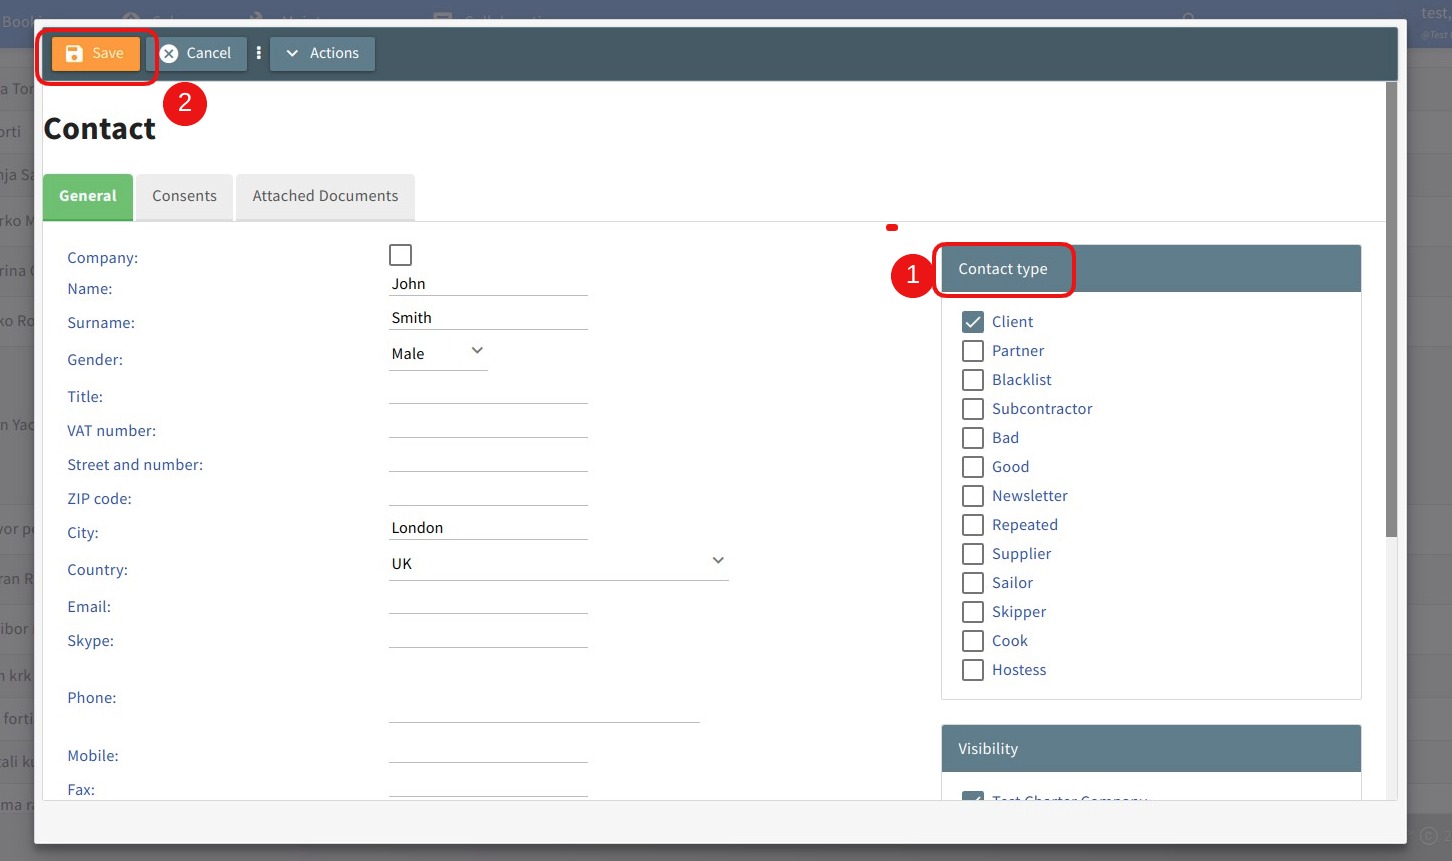
A new window will appear in which you can fill all the information you have.
Please remember to choose contact type (1) and when you are done to click Save button (2).
Picture 5.
4. Changing existing contacts
To change existing contact details, find the contact using the Filter.
Click on the Filter, fill in the information and start your search by clicking the Search button.
Picture 6.
Picture 7.
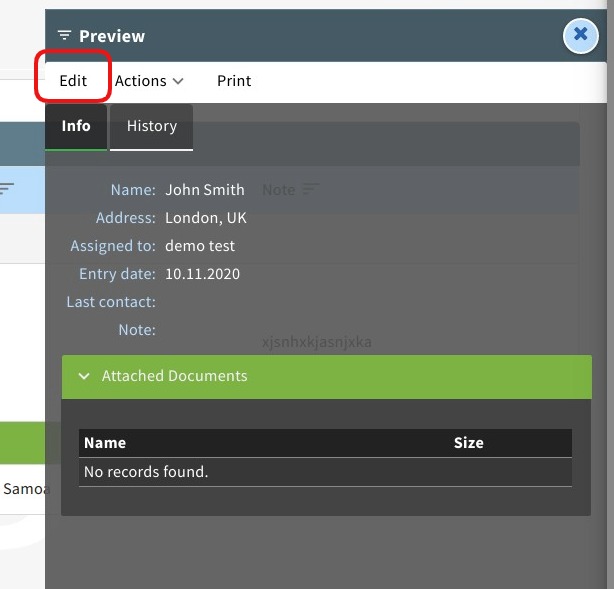
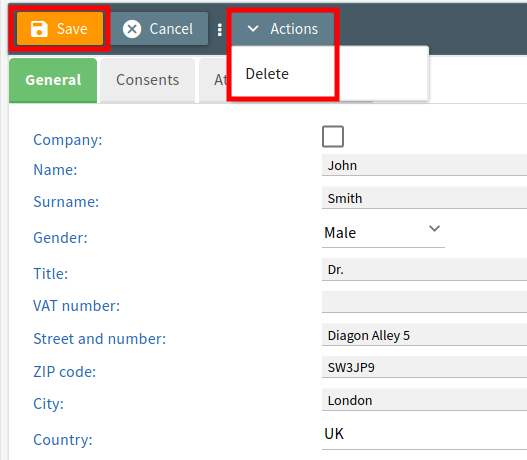
Select the contact you want to change and on the Preview click Edit. Once you are done, please remember to click Save button to save all the changes you have made.
Also, inside the Edit mode you can remove contact by simply clicking on Actions and choose Delete.
Picture 8.
Picture 9.
5. Contact preview
To see more details of a contact, click on the contact and the Preview will appear on the right side of your workspace.
The Info tab shows you the basic details of the contact and all attached documents regarding this contact, like skipper license, etc.
Under History tab you will find simple overview of all Vouchers, Credit notes, Yacht reservations and Client offers made for the selected contact in the past. By clicking on any booking or offer here, you can directly open that booking or offer and edit it.
The menu bar allows you to Edit contact, Print details and use Actions to directly Create new client offer or Delete selected contact.
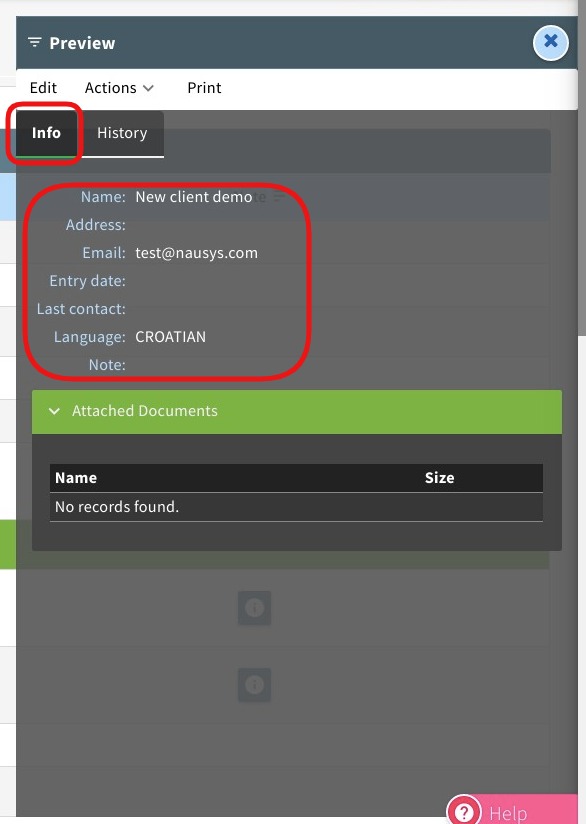
Picture 10.
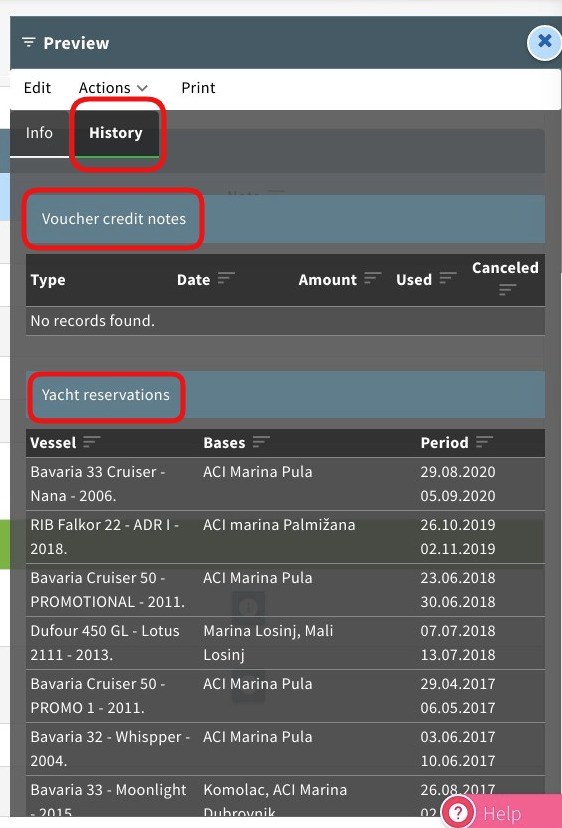
Picture 11.
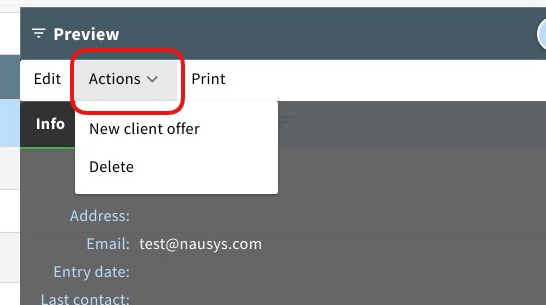
Picture 12.
To exit the Preview click on the “x” button in the right corner.
